
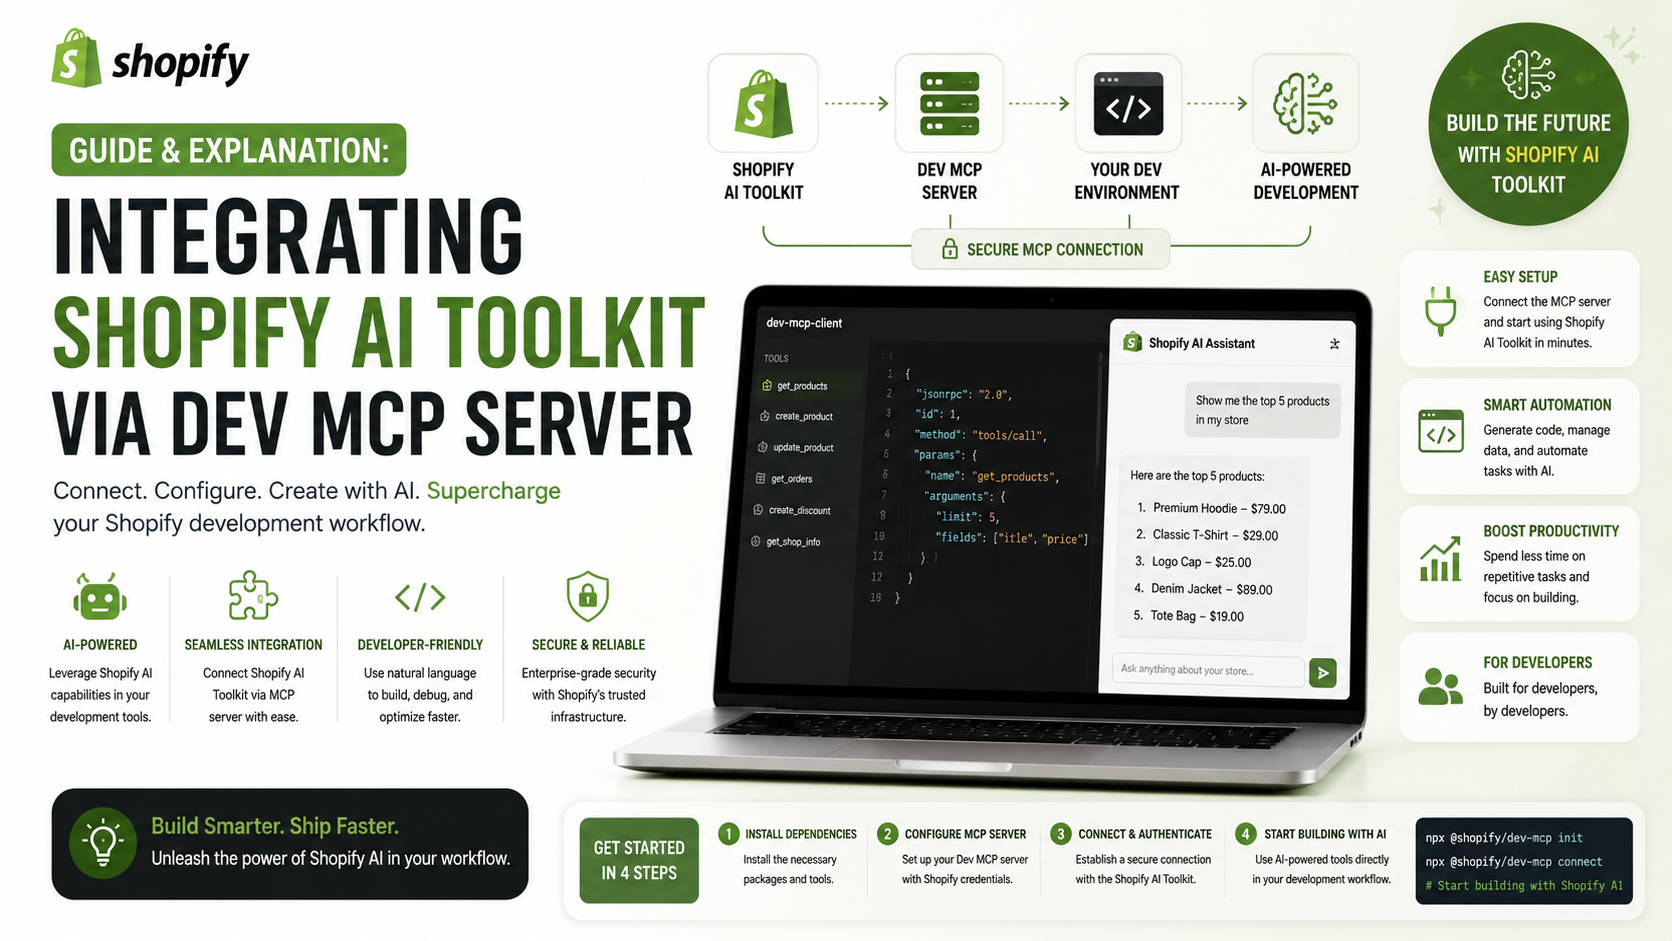
Guide & Explanation: Integrating Shopify AI Toolkit via Dev MCP Server

With the rise of AI Coding Assistants, Shopify has introduced the Shopify AI Toolkit. This open-source toolkit acts as a direct bridge between your favorite AI tools (like Claude Code, Cursor, or VS Code) and Shopify's official documentation, GraphQL API schemas, and development workflows

Guide & Explanation: Integrating Shopify AI Toolkit via Dev MCP Server
4 sections

1. Core Concepts Explained

Before diving into the installation, it is crucial to understand the underlying architecture:

  • What is MCP? MCP stands for Model Context Protocol. Developed by Anthropic (the creators of Claude), it is an open standard that allows AI models to securely connect to external data sources and tools.
  • Shopify Dev MCP Server: This is a local server that runs on your machine via standard input/output (stdio). It acts as a middleman. When your AI assistant needs to look up Shopify documentation or validate a GraphQL query, it asks this local server, which fetches real-time data without requiring any authentication (No Auth).
  • The Biggest Benefit: It drastically reduces AI "hallucinations." Your AI assistant will no longer generate outdated Liquid code or non-existent GraphQL fields because it has direct access to Shopify's live schemas and docs.
  • 2. Step-by-Step Installation Guide

    To run the Dev MCP Server, you need Node.js installed on your computer to execute the npx command. Here is how to configure it for the most popular AI-powered development environments:

  • Open Cursor and navigate to: Cursor > Settings > Cursor Settings > Features > MCP.
  • Click the + New MCP Server button.
  • Fill in the following details:
  • Name: shopify-dev-mcp
  • Type: command
  • Command: Enter the configuration structure below based on your OS.
  • For macOS / Linux:JSON
  • json
    "command": "npx",
    "args": ["-y", "@shopify/dev-mcp@latest"]

  • For Windows (Workaround if connection issues occur):JSON
  • json
    "command": "cmd",
    "args": ["/k", "npx", "-y", "@shopify/dev-mcp@latest"]

  • Save the configuration and Restart Cursor.
  • Option 2: Configuring in Visual Studio Code (VS Code)

    If you are using VS Code with an MCP-compatible AI extension (like Cline or Roo Code):

  • Open VS Code.
  • Open the Command Palette using Cmd + Shift + P (macOS) or Ctrl + Shift + P (Windows).
  • Search for and select: MCP: Open User Configuration.
  • Add the following block to your user-level mcp.json file:JSON
  • Save the file and Restart VS Code.
  • Option 3: Manual Setup in Claude Code (Terminal)

    If you are using the CLI-based Claude Code tool and prefer adding the MCP server manually, run this command in your terminal:

    Bash

    claude mcp add --transport stdio shopify-dev-mcp -- npx -y @shopify/dev-mcp@latest

    3. What Capabilities Does This Unlock?

    Once connected, your AI assistant gains access to specific tools exposed by the server:

  • learn_shopify_api (Contextual Onboarding): Briefly introduces the AI to Shopify's API paradigms at the start of your session, giving it the right architectural mindset.
  • search_docs_chunks & fetch_full_docs (Live Doc Retrieval): The AI can autonomously search and pull text chunks directly from shopify.dev to verify API limits, Liquid tags, or webhooks.
  • GraphQL & Liquid Validation: When you prompt the AI to write a complex Admin or Storefront API query, it can locally validate the syntax against Shopify’s active schema before you even execute it.
  • 4. Important Production Safeguards

  • Safe Environment: By default, running the Dev MCP server in its basic form requires no Shopify store credentials, meaning it operates in a safe, read-only mode for documentation and validation.
  • The "No Undo" Rule: If you eventually grant the AI broader CLI permissions (store execute tools) to modify store states (e.g., bulk-editing products or creating assets), always remember that Shopify actions do not have an undo button. Double-check the AI's intended actions and always test prompts on a Development or Staging Store before running them against a Production store.


  • Tags
    Sources

    Related Articles

    10 Essential Shopify SEO Tips to Boost Your Store's Traffic
    Tips & Tricks

    10 Essential Shopify SEO Tips to Boost Your Store's Traffic

    Optimize your Shopify store for search engines with these 10 actionable SEO tips, covering setup, keywords, on-page optimization, and technical fixes. Improve your store's visibility, drive more traffic, and increase sales. Get started with Shopify SEO today!

    August 16, 20263 min
    Adding a Smooth Back-to-Top Button to Your Shopify Theme
    Tips & Tricks

    Adding a Smooth Back-to-Top Button to Your Shopify Theme

    Learn how to add a smooth back-to-top button to your Shopify theme using lightweight CSS and JS, improving navigation and enhancing user experience.

    August 13, 20263 min
    Shopify Requires Expiring Offline Access Tokens for Public Apps: What Developers Need to Know
    Tips & Tricks

    Shopify Requires Expiring Offline Access Tokens for Public Apps: What Developers Need to Know

    Shopify is making an important change to how public apps authenticate with the Admin API

    August 8, 202630 min
    Understanding Shopify Theme Check: LiquidHTML/Complexity
    Tips & Tricks

    Understanding Shopify Theme Check: LiquidHTML/Complexity

    Although this isn't a compilation or runtime error, it's an important indicator that your Liquid file has become too complex, making it harder to read, maintain, and extend over time

    July 30, 202620 min